How to use Google Classroom - For Teachers - A step by step guide
In this article, we will look at the Google Classroom Application in detail, we are writing this for Teachers, if you are a Student, your interface is much simpler and is discussed in a separate article here : Link
We found that the best experience for presenting as a Teacher with Google Classroom is from a laptop or a desktop (Linux or Windows or Chrome OS). A pen-enabled touchscreen laptop is useful for Google Meet during presentations.
Screenshots shown in this article are taken on a Laptop with the application accessed through a browser. For Phones or Tablets, the layout of the screen and the placement of the buttons will change, but the features and functionality will remain the same (We tested it on many devices).
Starting Google Classroom
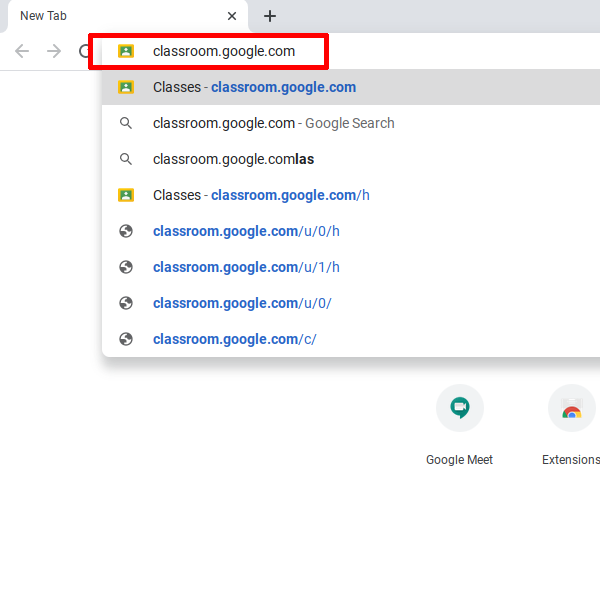
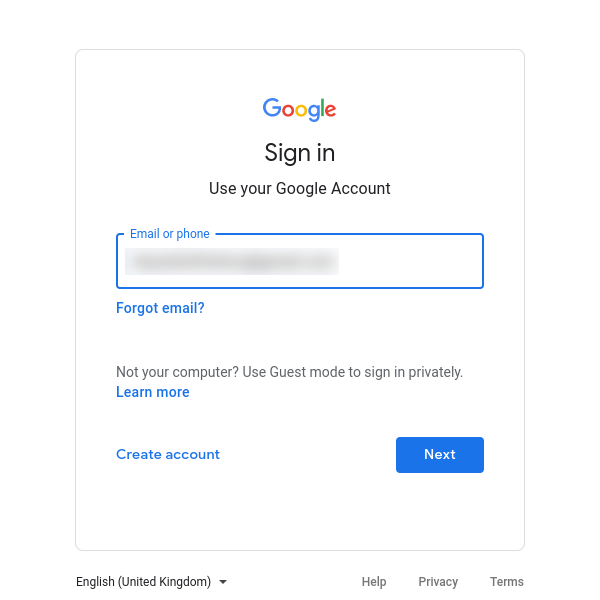
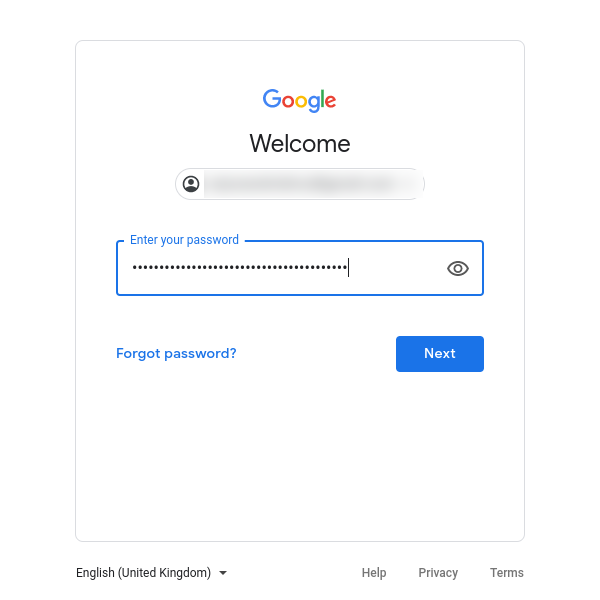
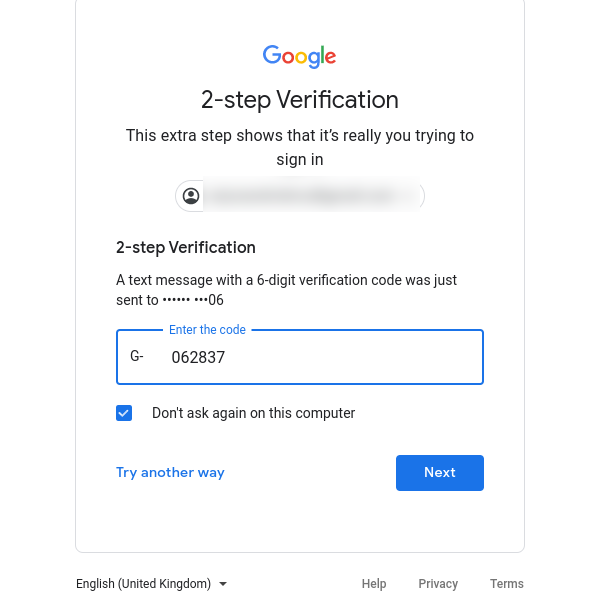
How to create and manage a class
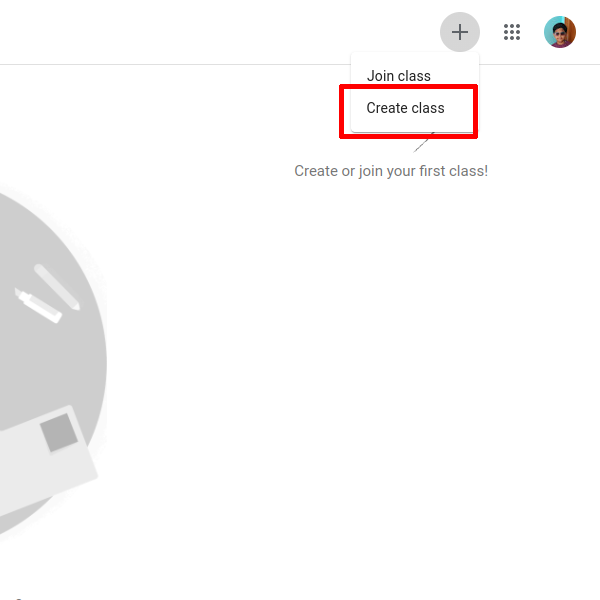
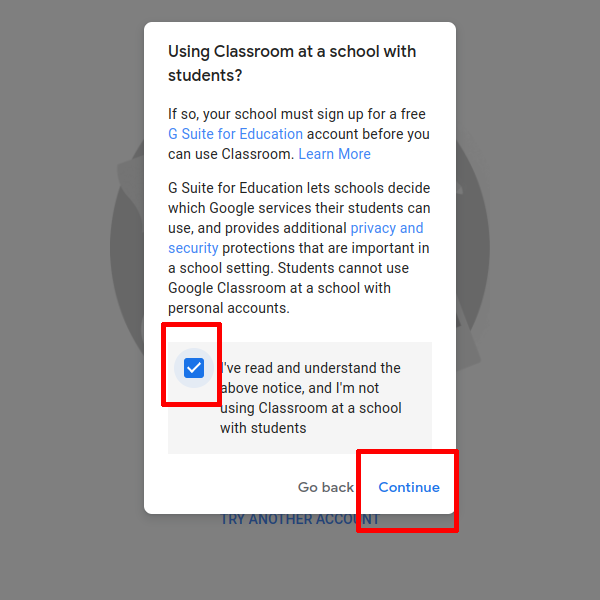
Fill in the necessary details and create the class.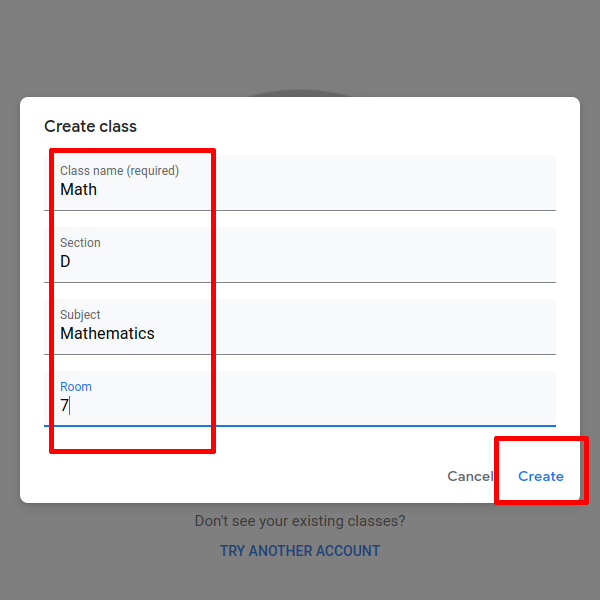
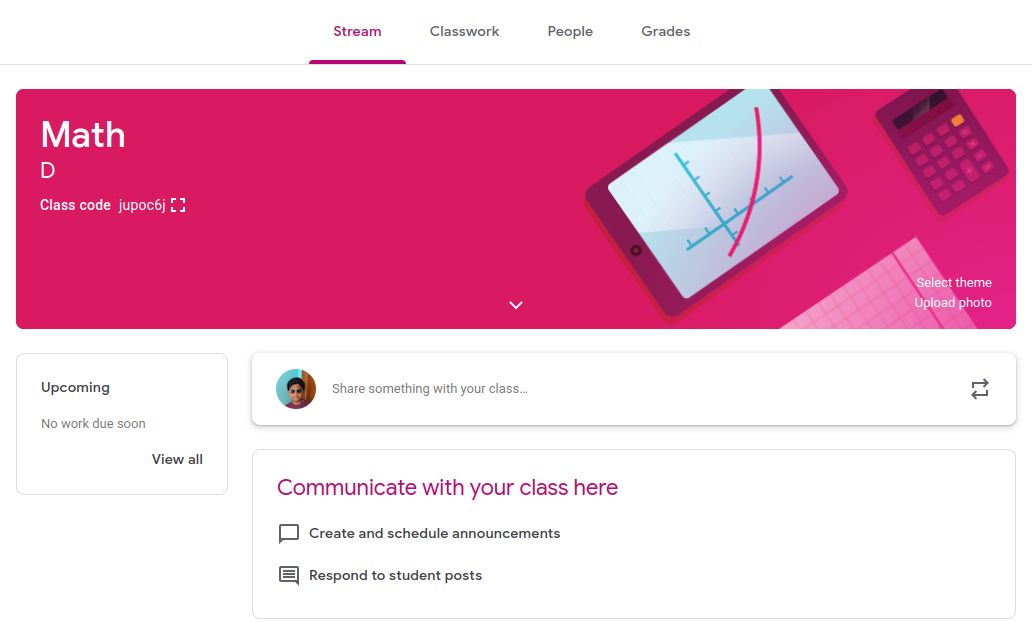
The opening screen will show the "Stream Tab" where all the important messages are displayed. Notice the "Class code" on the class badge? Teacher needs to share this with Students for them to join. If the School is already subscribed to "GSuite For Education", sharing the "Class code" is not needed.
The "Classwork Tab"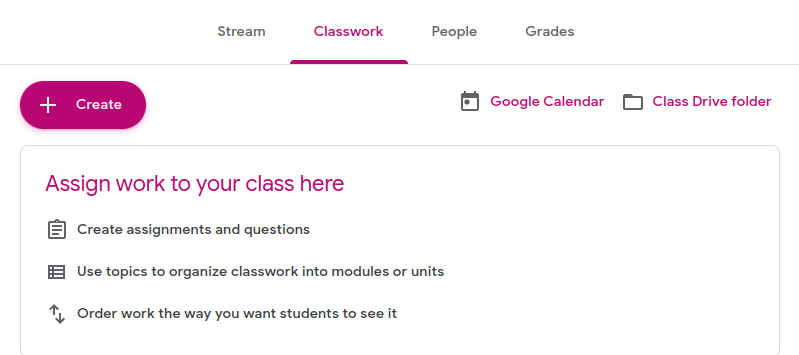
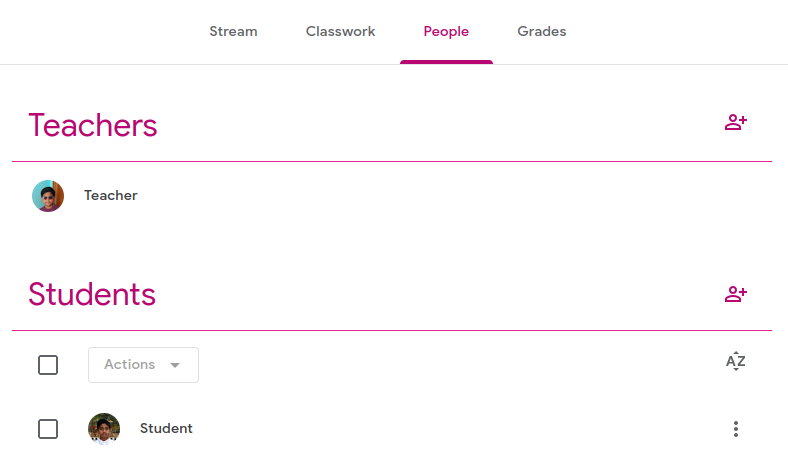
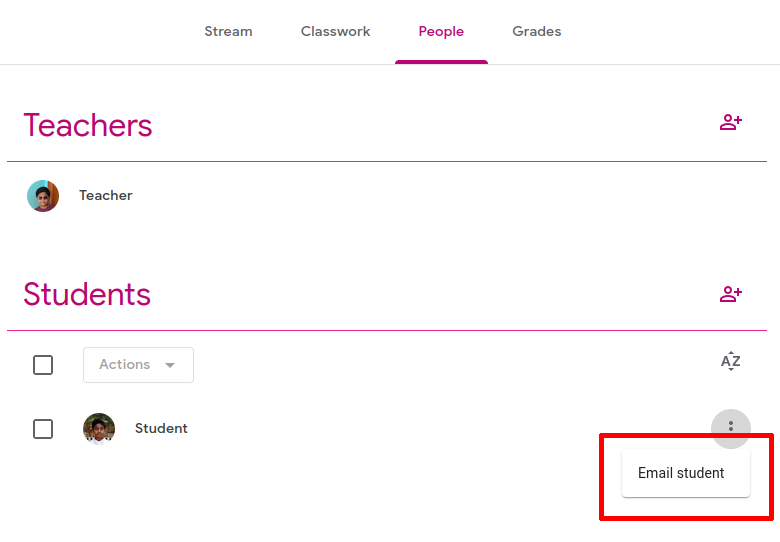
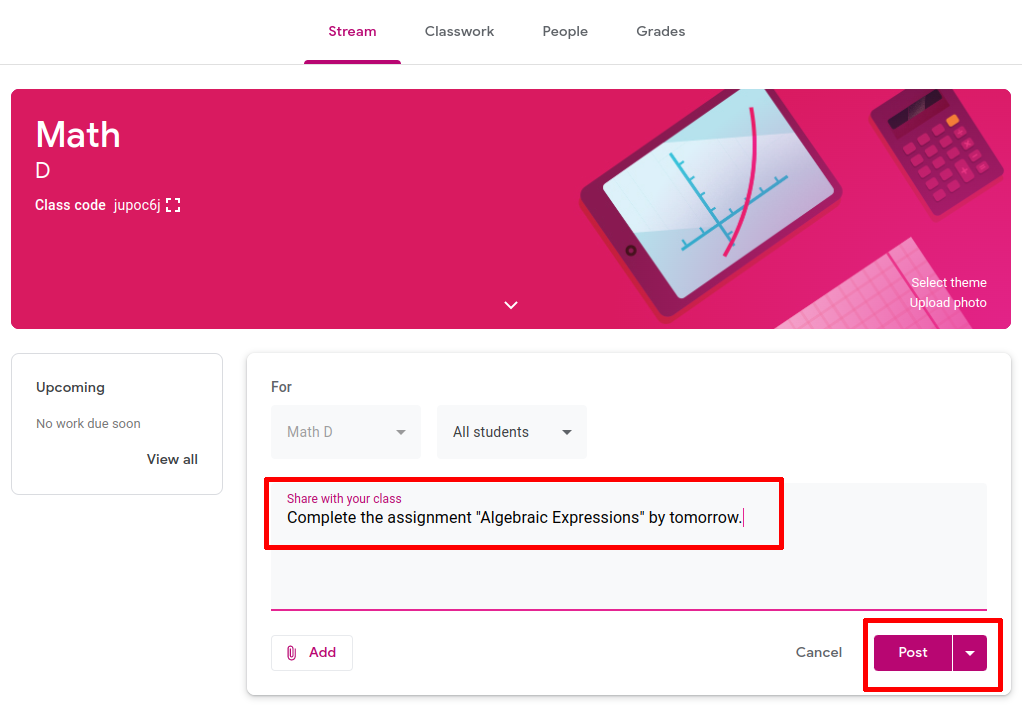
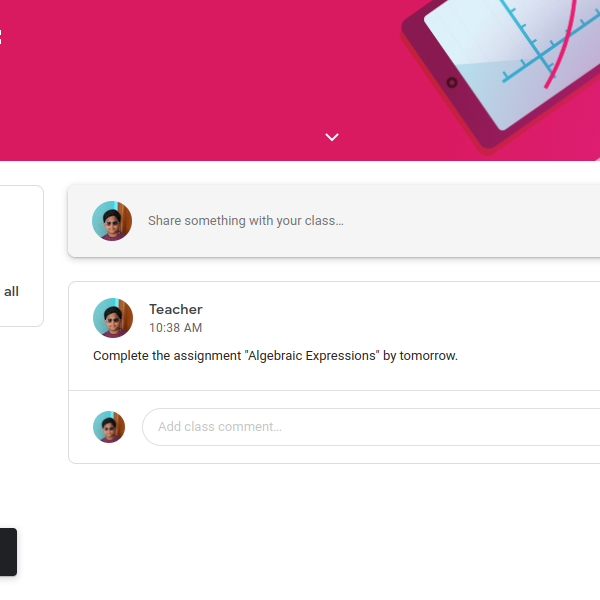
An example of a post created for the class, all the students will be able to see the post in their "Stream Tab".
How to create an Assignments
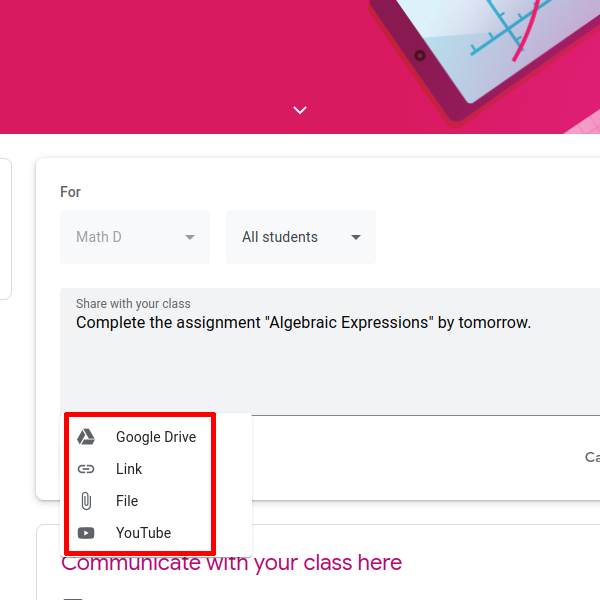
Assignments usually include detailed instructions and sometimes diagrams. The best way to present these to the student is by creating the document first and sharing it as an attachment. In the "Classwork Tab", start by clicking "Google Drive".
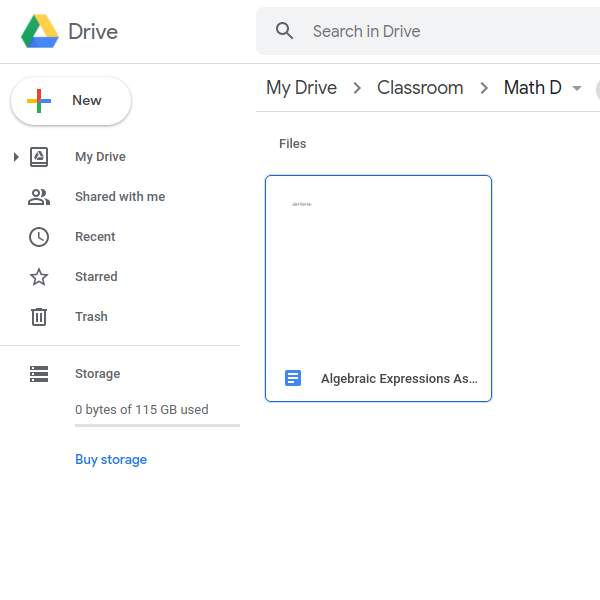
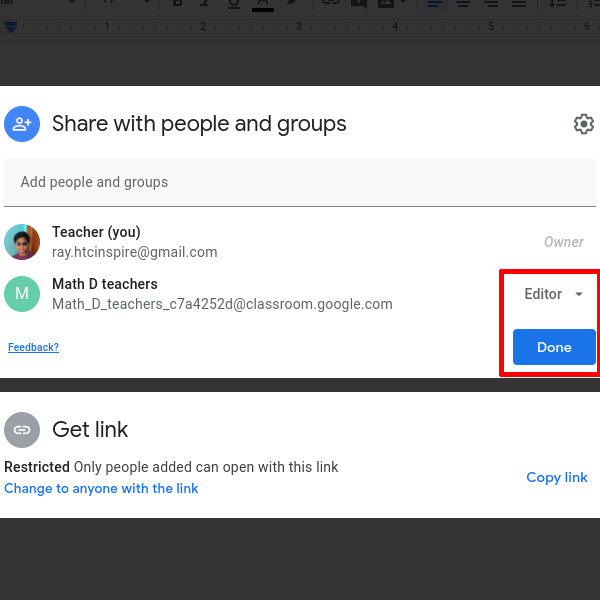
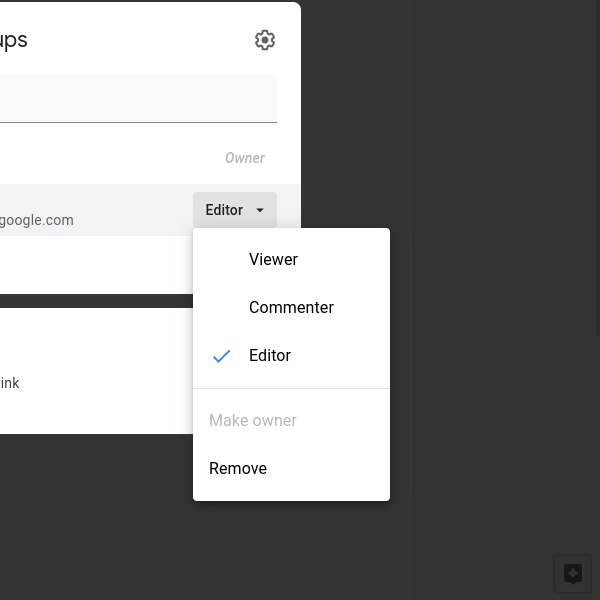
Once the sharable content is placed in Google Drive, come back to "Classwork Tab", click "Create" and select "Assignment".
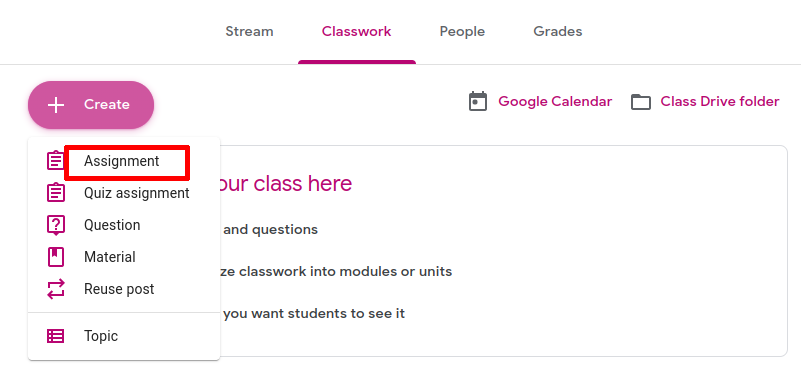
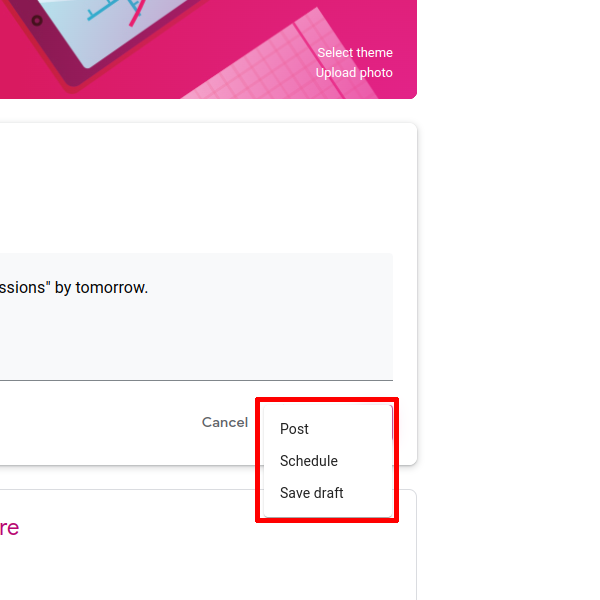
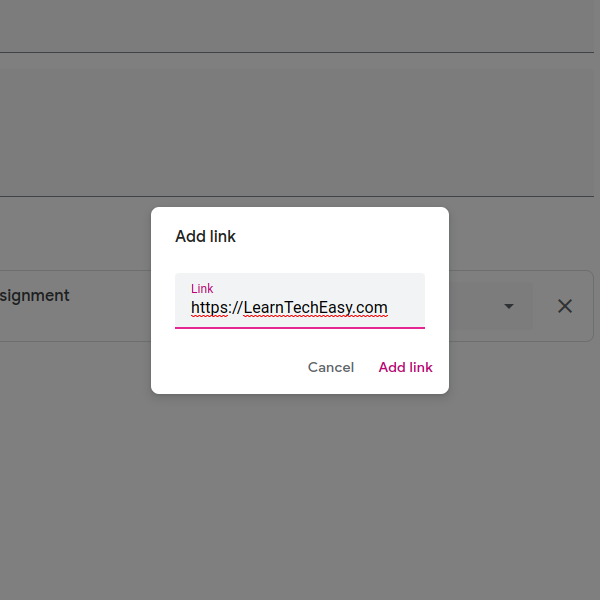
The process of creating a Assignment, attachments can be done using the "Add" button
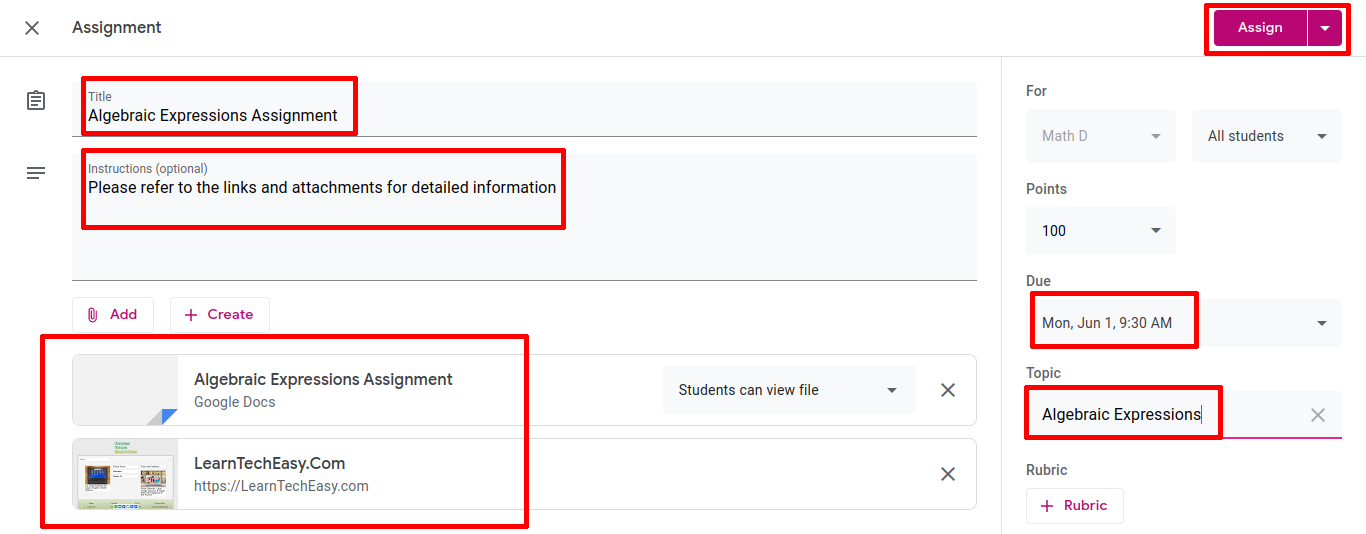
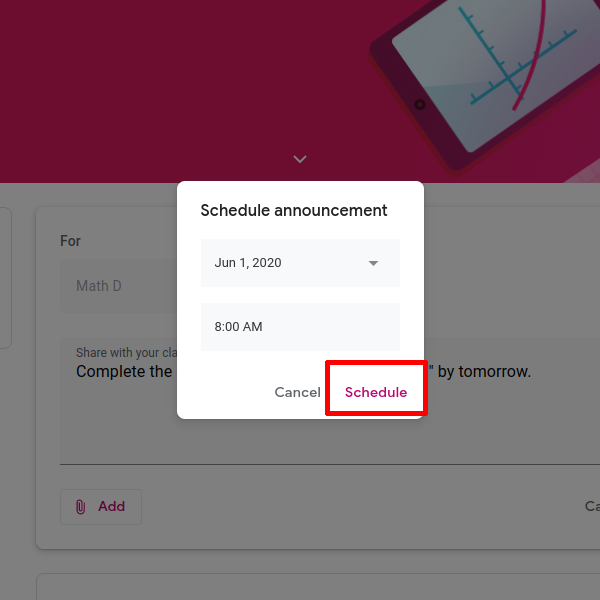
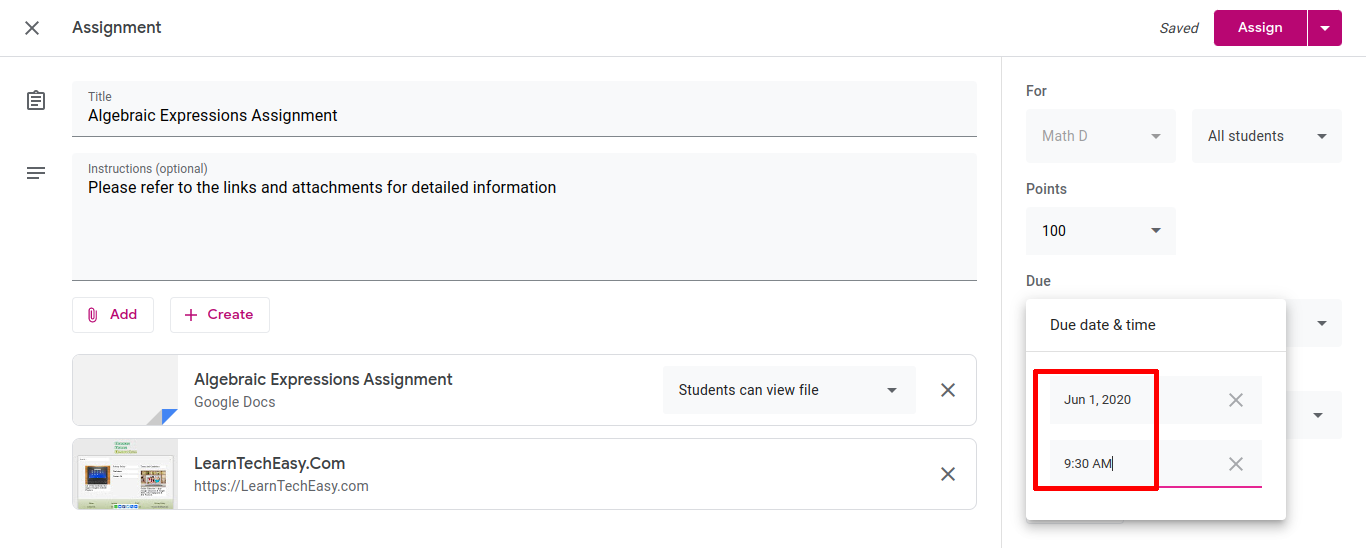
Assignments can also be scheduled
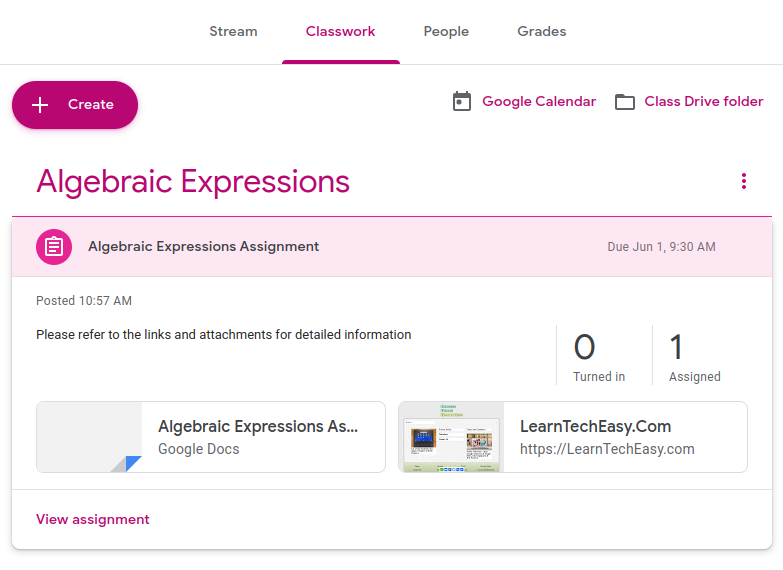
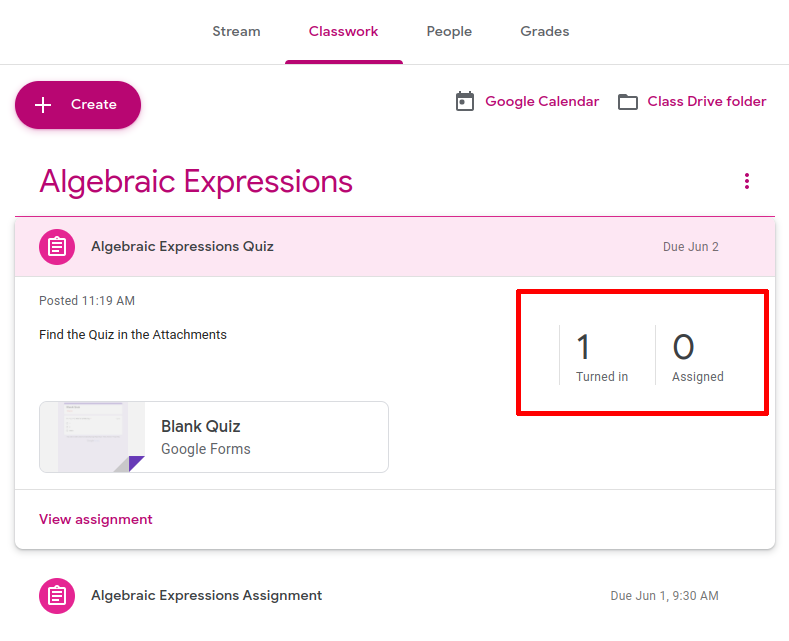
Once assigned, it appears in the "Classwork Tab". "Turned in" shows how many Students have already submitted the Assignment.
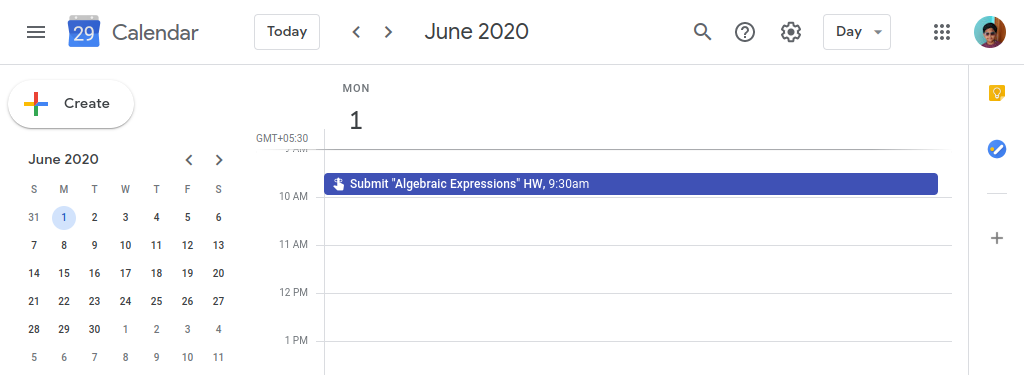
The "Calendar" will automatically update the event to the Student's Calendars well. The "Stream Tab" will also update automatically to show the Assignment.
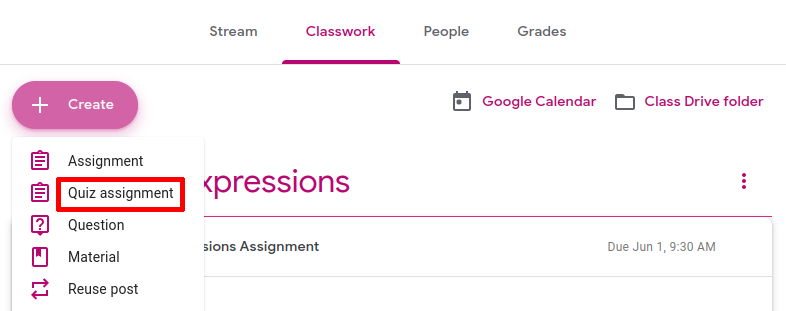
Creating a Quiz Assignment
Quiz Assignments make use of Google Forms and are easy to create. Quiz Assignments can be used to conduct Short Tests or Exams and can generate Grades. Start by clicking "Create" --> "Quiz Assignment"
Fill in the details of the Assignment

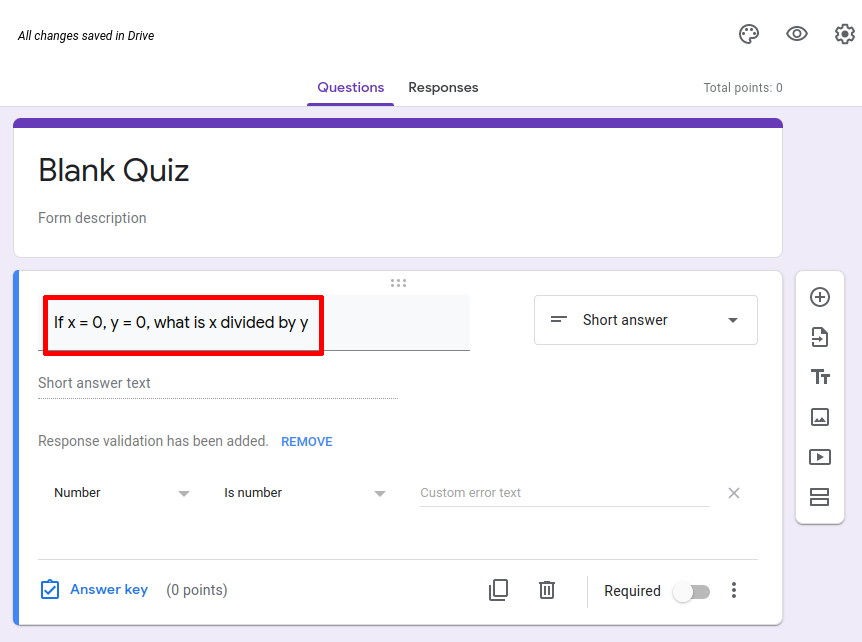
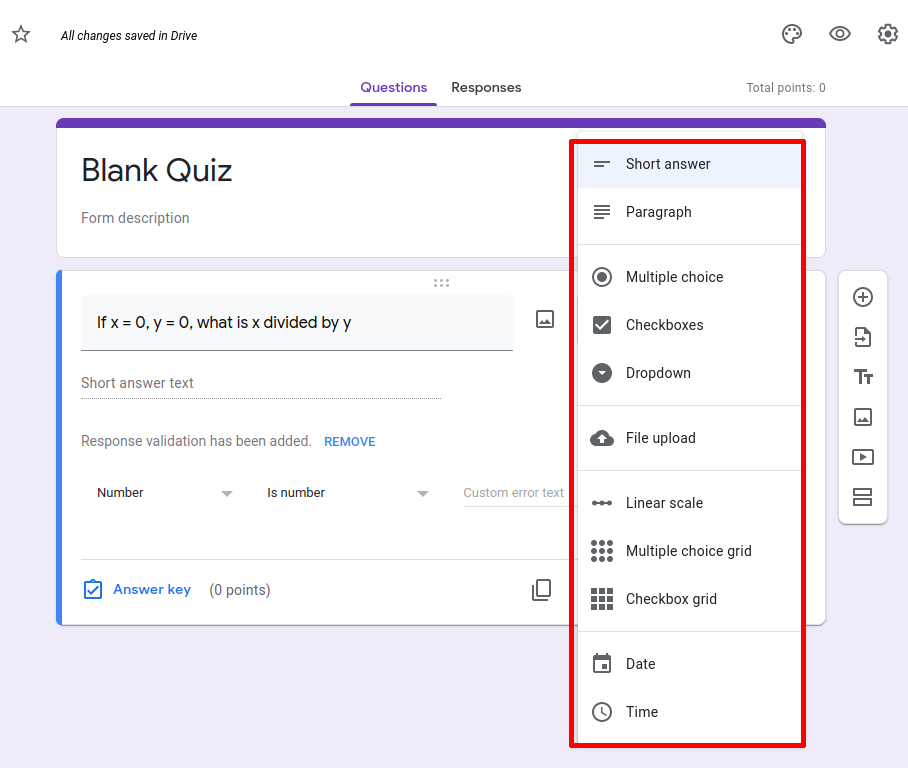
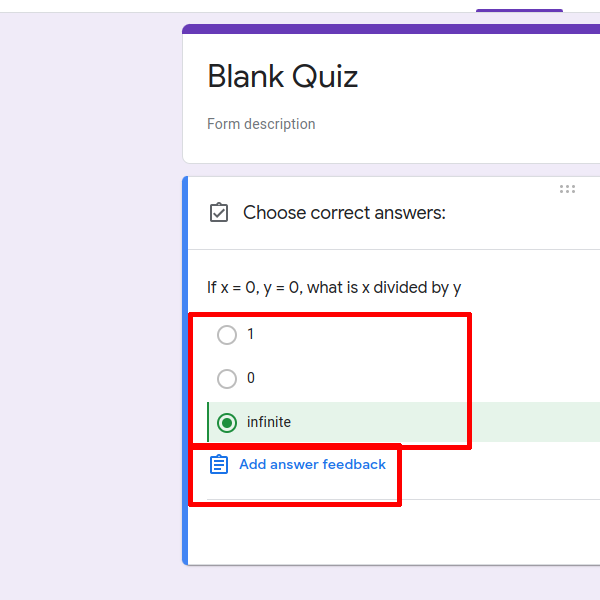
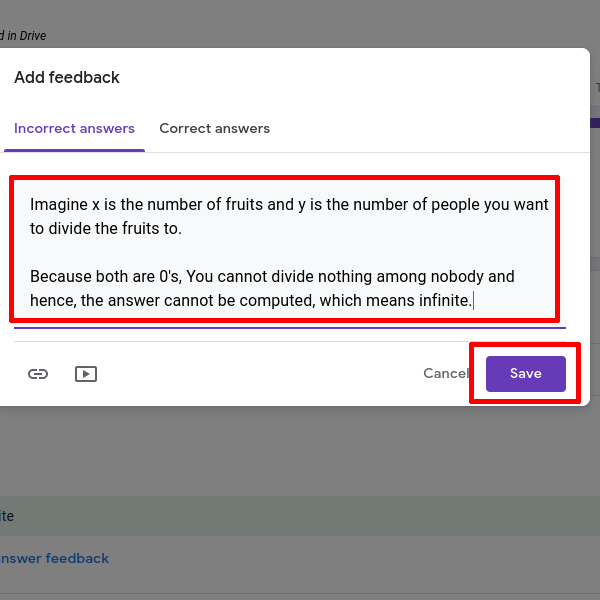
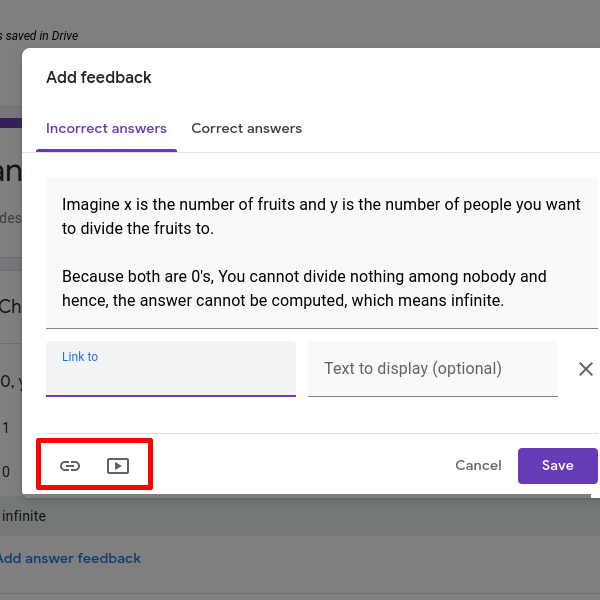
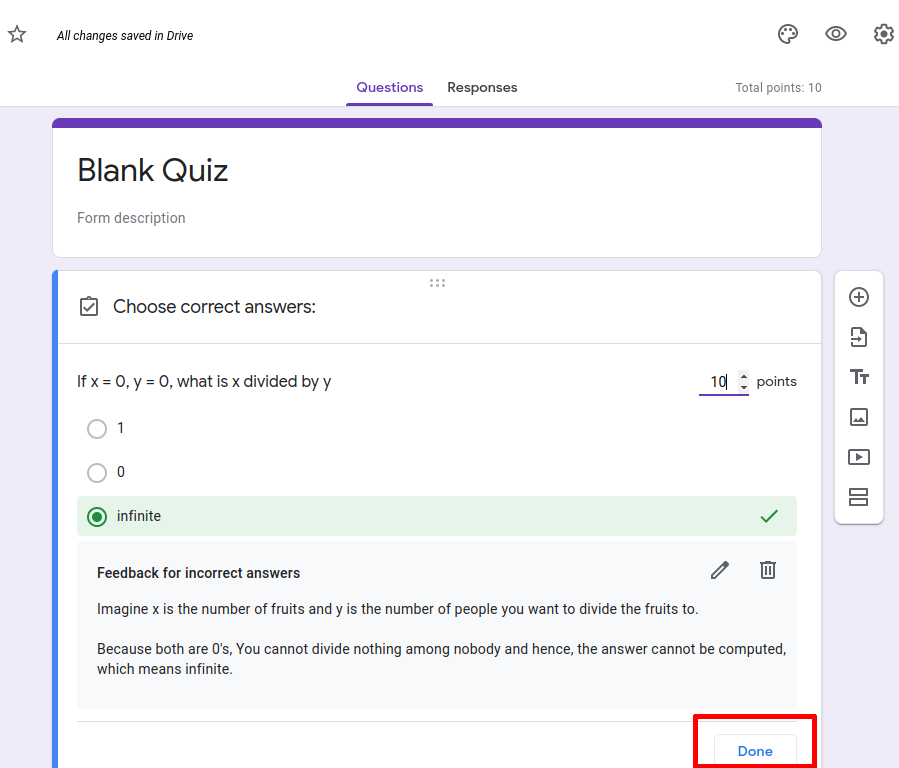
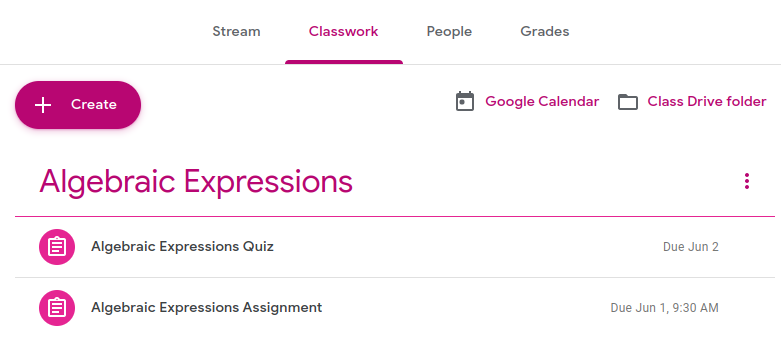
Once saved, the "Quiz Assignment" will show up in the Classroom Tab and the Calendar.
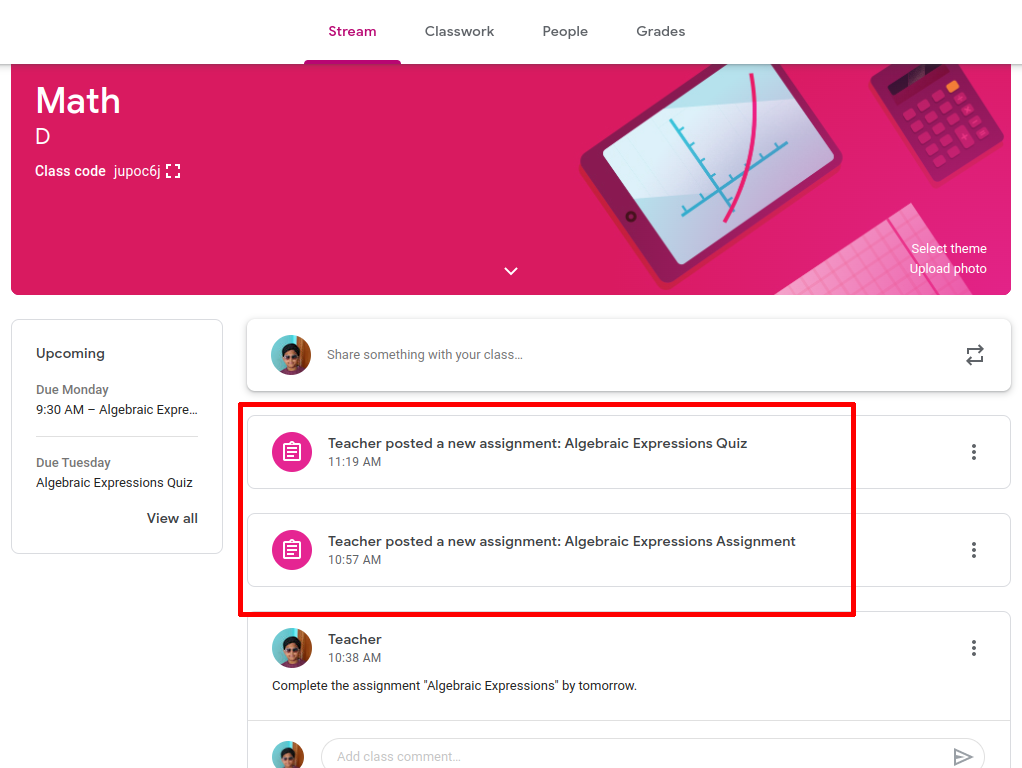
It will also automatically appear in the Stream Tab.
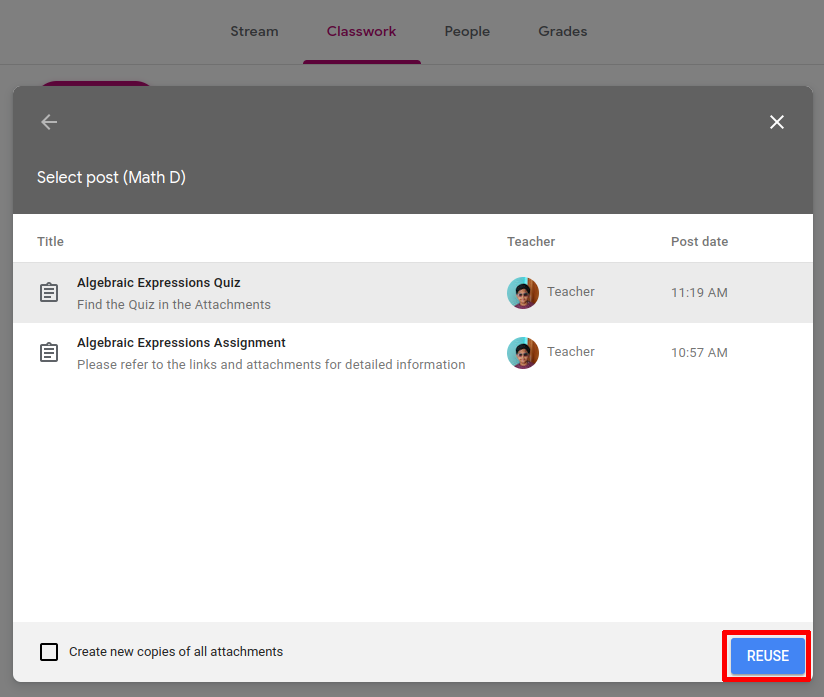
Regular and Quiz Assignments can be reused in the future
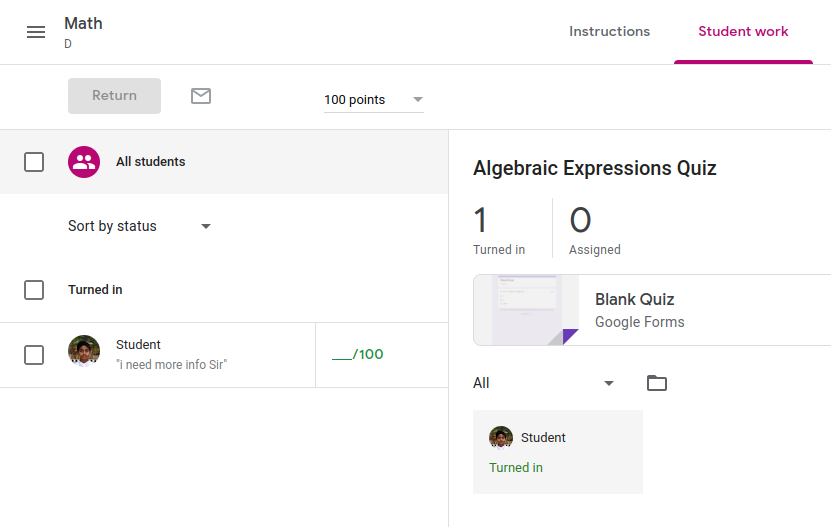
The "Grades Tab" will show the results of the Quiz Assignments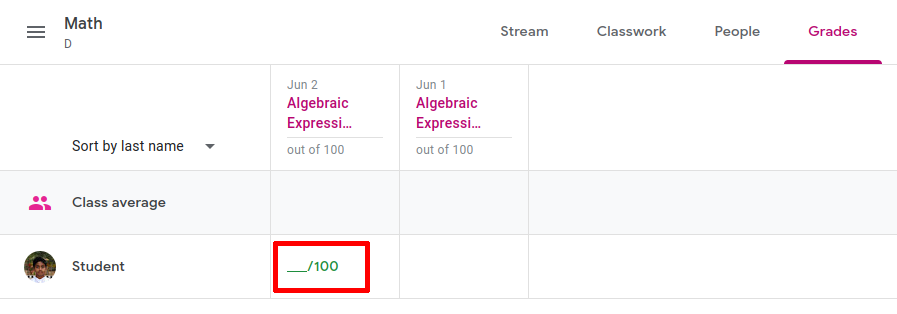
Students can communicate with the Teacher via messages and ask questions
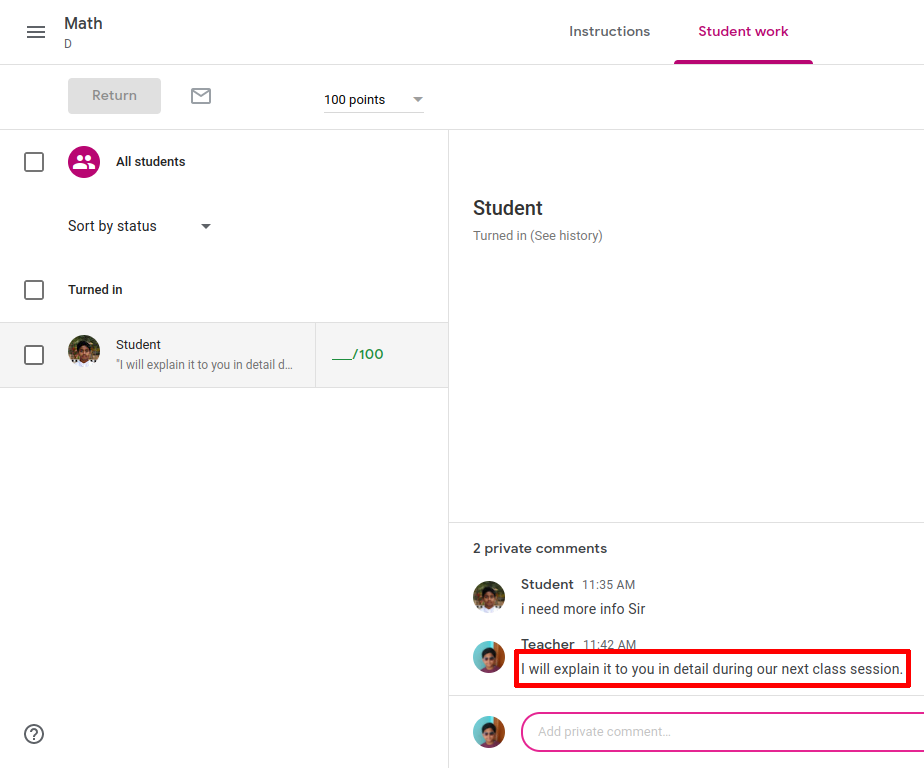
A sample reply from the Teacher
Q & A Strategy
Students can post questions during the live class session to the chat section of Google Meet. Teacher can either answer them right away or answer all the questions one by one towards the end of the session.
After the live session is complete, students can ask questions using "Messages" of Google Classroom.
Conclusion
We are confident this article covers most of the features of Google Classroom, we will continue expanding it as and when Google adds more features.
Teachers can let us know any questions in the comments below regarding the software. We will explore and try to find the answers.
Google Classroom can be accessed from various devices and we have discussed them in detail here : Link
For Teachers who use Google Meet as well, a detailed demo of Google Meet's features is here : Link
Authors | @ArjunAndVishnu

We made LearnTechEasy.Com to explain technology in an easy manner.
We write for and maintain a few other websites:
GadgetGen.com (Gadget reviews and the tech inside them)
FreeSupport.in (Free tech support, clear and precise)
PicDictionary.com (An online dictionary in pictures)
I am Vishnu, I write the content and create the webpages. My brother Arjun, edits the images and videos. We started our YouTube Channel recently.



Comments powered by CComment